
I saw somewhere (unfortunately I don’t remember where) such a box, but it was flat while I wanted the actual box (not the flaps) to be of about 2 cm height.
So I made me a template myself ;-))
And that’s what you do:
 (Click to enlarge)
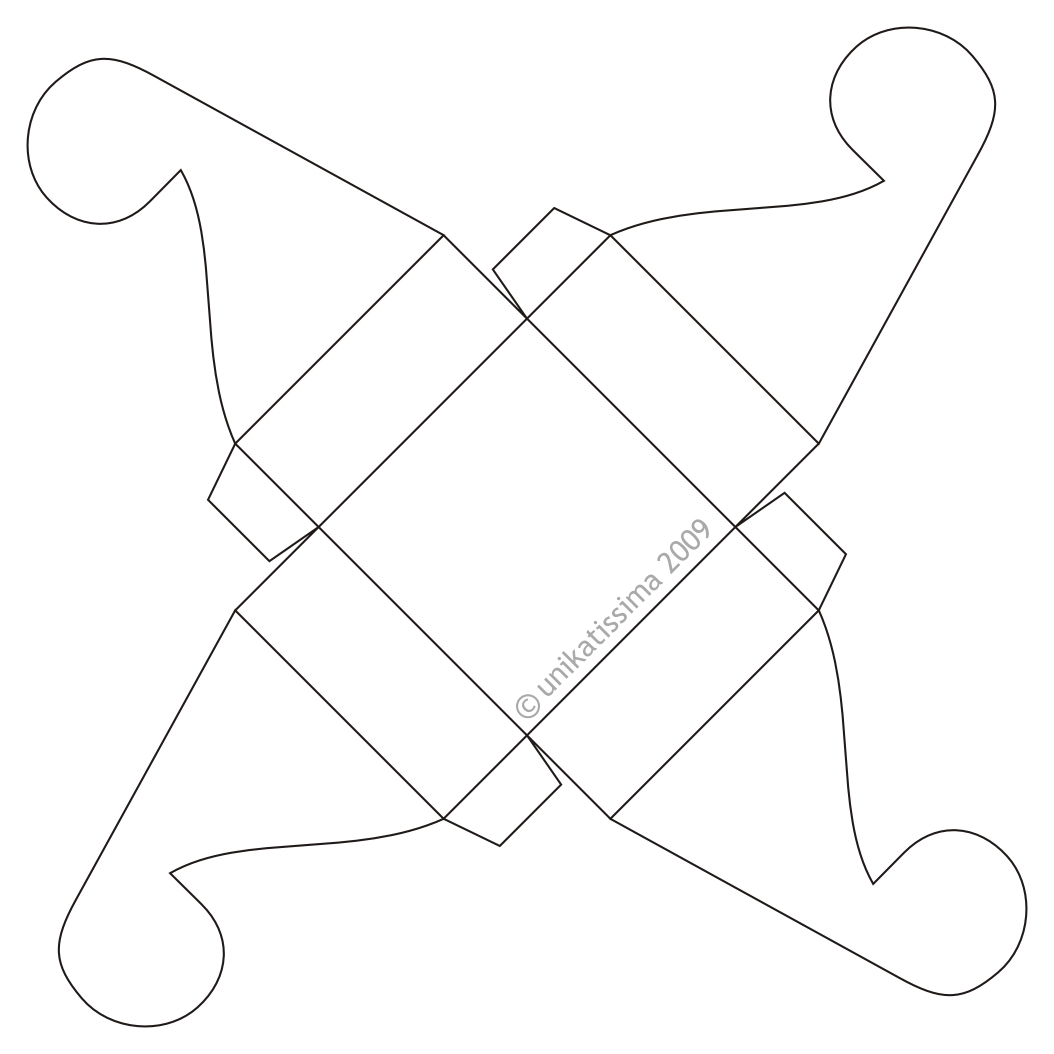
That is the template.
Instruction for first box: Pasted paper

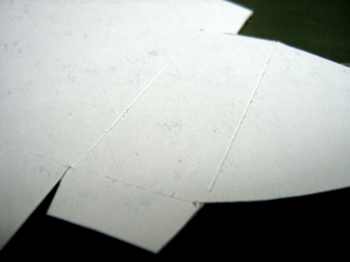
First print the template and cut it.
I wanted to have a Chinese box so I pasted the outside up with some Chinese newspapers that I stained with tea before (see links below).
Of course you can paste the paper up with gift wrapping, snippets from ads and so on, too.
I suggest to paste a second layer on the paper in any case to get it sturdier or to use thin cardboard.

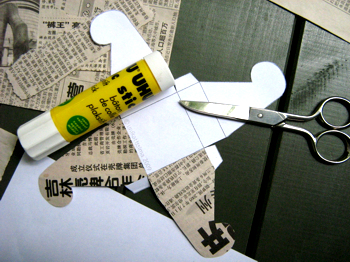
When having pasted up all four flaps you can pre-fold the box. This way it will be easier to glue the tags.
Here is the glue setting.
You can see that I didn’t paste up the inside.
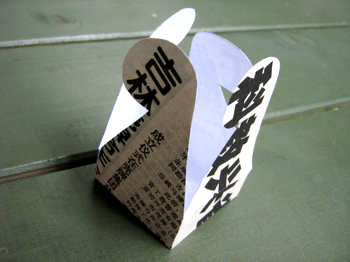
And that is the box in its full beauty ;-)
I suggest to let the glue set well because there will be some strain when you close the box and the tags can get unfixed.
Instruction for second box: Thin cardboard
After the first box I felt like making a box from thin cardboard.
The cardboard is from the wrapping of a pair of trousers I bought and I liked the colours of the printed picture.
So I put my printed and cut template on the cardboard, copied it and cut the cardboard along the lines.
I pre-folded the folding lines to get better folds.

Then I simply folded the box without glueing the tags.
The red arrow shows that there originates a gap.
Depending on what you want you can leave the box at that, the tags make sure that in spite of the gaps nothing will drop ;-)
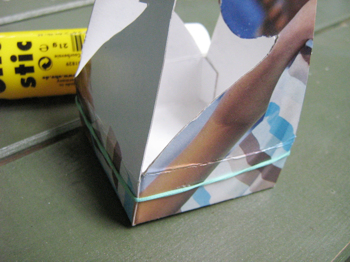
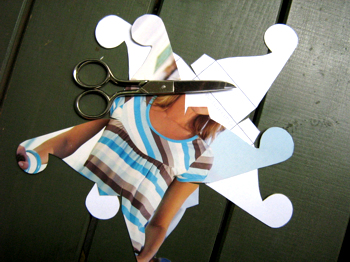
Here I glue the tags to see what happens.
The box always got apart until I fastened it with an elastic.
The glue could set this way better.

And that is my second little box.
You can see at the edges that it is a properly closed box now ;-)
Links:
Here on this site:
Instruction for first box: Pasted paper
Instruction for second box: Thin cardboard
Template to print
Stain paper with tea
Tea Staining Your Art Journal Pages
Tea Stain Paper
Puik blad!
Sit nog idees op asb.
Wow, my first comment in Afrikaans!
The automatic translation said that it means something like: ‘Great page! Put up some ideas please.’
Well, concerning the ‘Great page!’: baie dankie daarvoor (thank you for it), but unfortunately I don’t exactly understand the second phrase because I’m presenting a new tutorial every day!
So I don’t know how to cope with the request.
Please be so kind as to comment in a language that I can understand (that is German in the German part of unikatissima or English here).
Thank you for your understanding.
thank you, im so exciting about your simply creation…pretty easy for making at home
tiwi,
central java, indonesia
tiwi, I’m so glad that you like it :)
Oooh, lovely! I’m going to make this with my Girl Guides. Thanks!
AphroditeMF,
you’re welcome :)
It’d be great if there would be photos for us to look, too ;-))
I hope that you and the Girl Guides will enjoy making a heap of little boxes ;-)
Susann
This is lovely, I can see it being used to hand out ‘favours’ at a wedding as a replacement for wrapping them all up!
Hen Party Games
Thank you :)
Yeah very nice, but as will all frustrating origami instructions, you leave out the hardest bit. How to fold the petals. So annoying.
Matt,
you’re welcome anyhow.
To know how to ‘fold’ the petals, make the box and then simply tuck one petal behind the next.
Just try it and you’ll see, how it works.
Keep perhaps the pictures on the screen to take a look if necessary.
lovely….how easy to make and how beautiful…! Grrrrreate
Gemini,
I’m so glad that you like it :)
Enjoy!
I can’t get the petals (lid) to close… they don’t tuck into each other nicely, they seem to skew one way or the other…. Have you any advice for me?
Thank you for the template though, it is nice! :)
Lydge,
Thank you very much for your kind compliment :)
Hm, as for the petals: I first tucked together three of them (which was not soo hard) and then I remember fighting with the fourth.
As far as I remember the petals get rather contorted, before they close (that’s why I wrote: “I suggest to let the glue set well because there will be some strain when you close the box and the tags can get unfixed.”
So I’d say that I unfortunately don’t have any real advice but: be patient and persistent.
I hope that it will work for you!
Thank you very much. That’s exactly what I was looking for.
Miriamele,
you’re welcome :))
i put your website in my favorites websites.
thank u… ;)
safoora,
thank you, I’m glad to hear that :)
Best box :))great